Showing posts with label Year 3. Show all posts

Friday, 8 November 2019

Paint and weaving


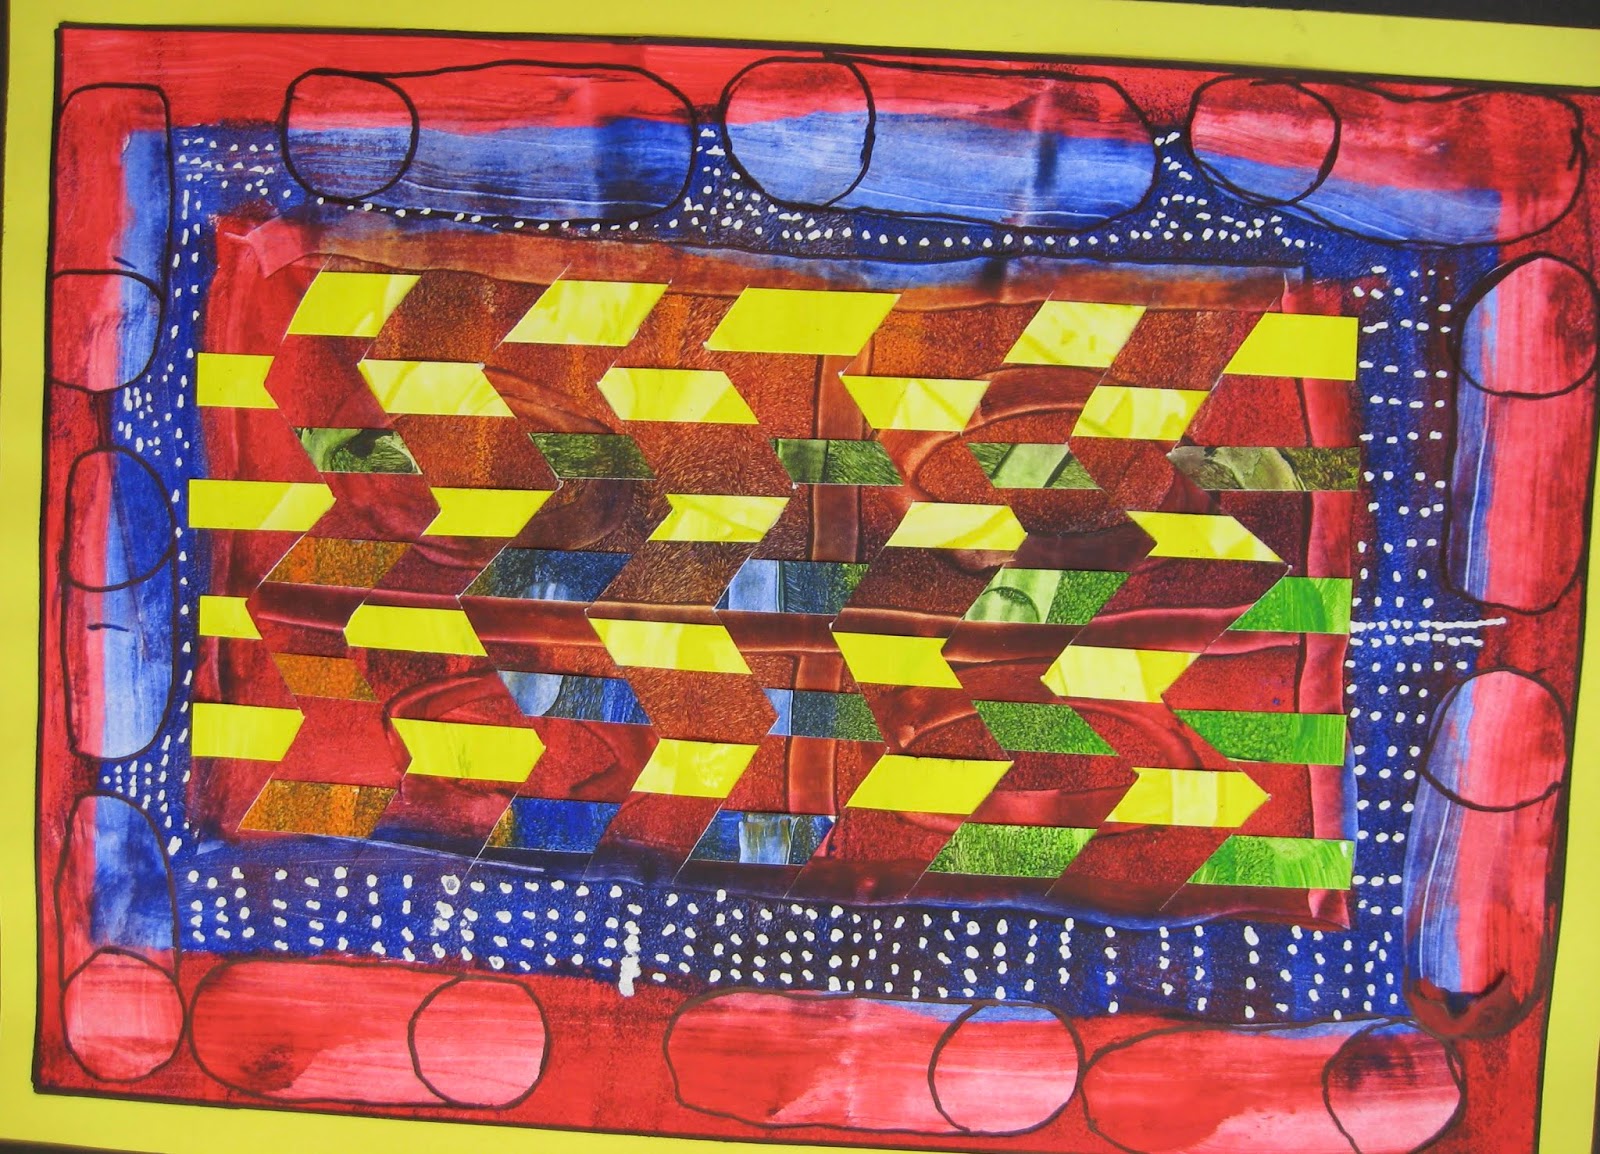
Year 3 children used paint mixed with wall paper paste, which produces a thicker paint consistency.  They used toothbrushes, milk bottle lids, scrapers, and the pointy end of the paintbrush to make patterns on 2 sheets of A3 paper.
 Once dry one of the sheets were cut into strips.  The children used these strips to weave somewhere on their artwork.


Thursday, 26 July 2018

Animals

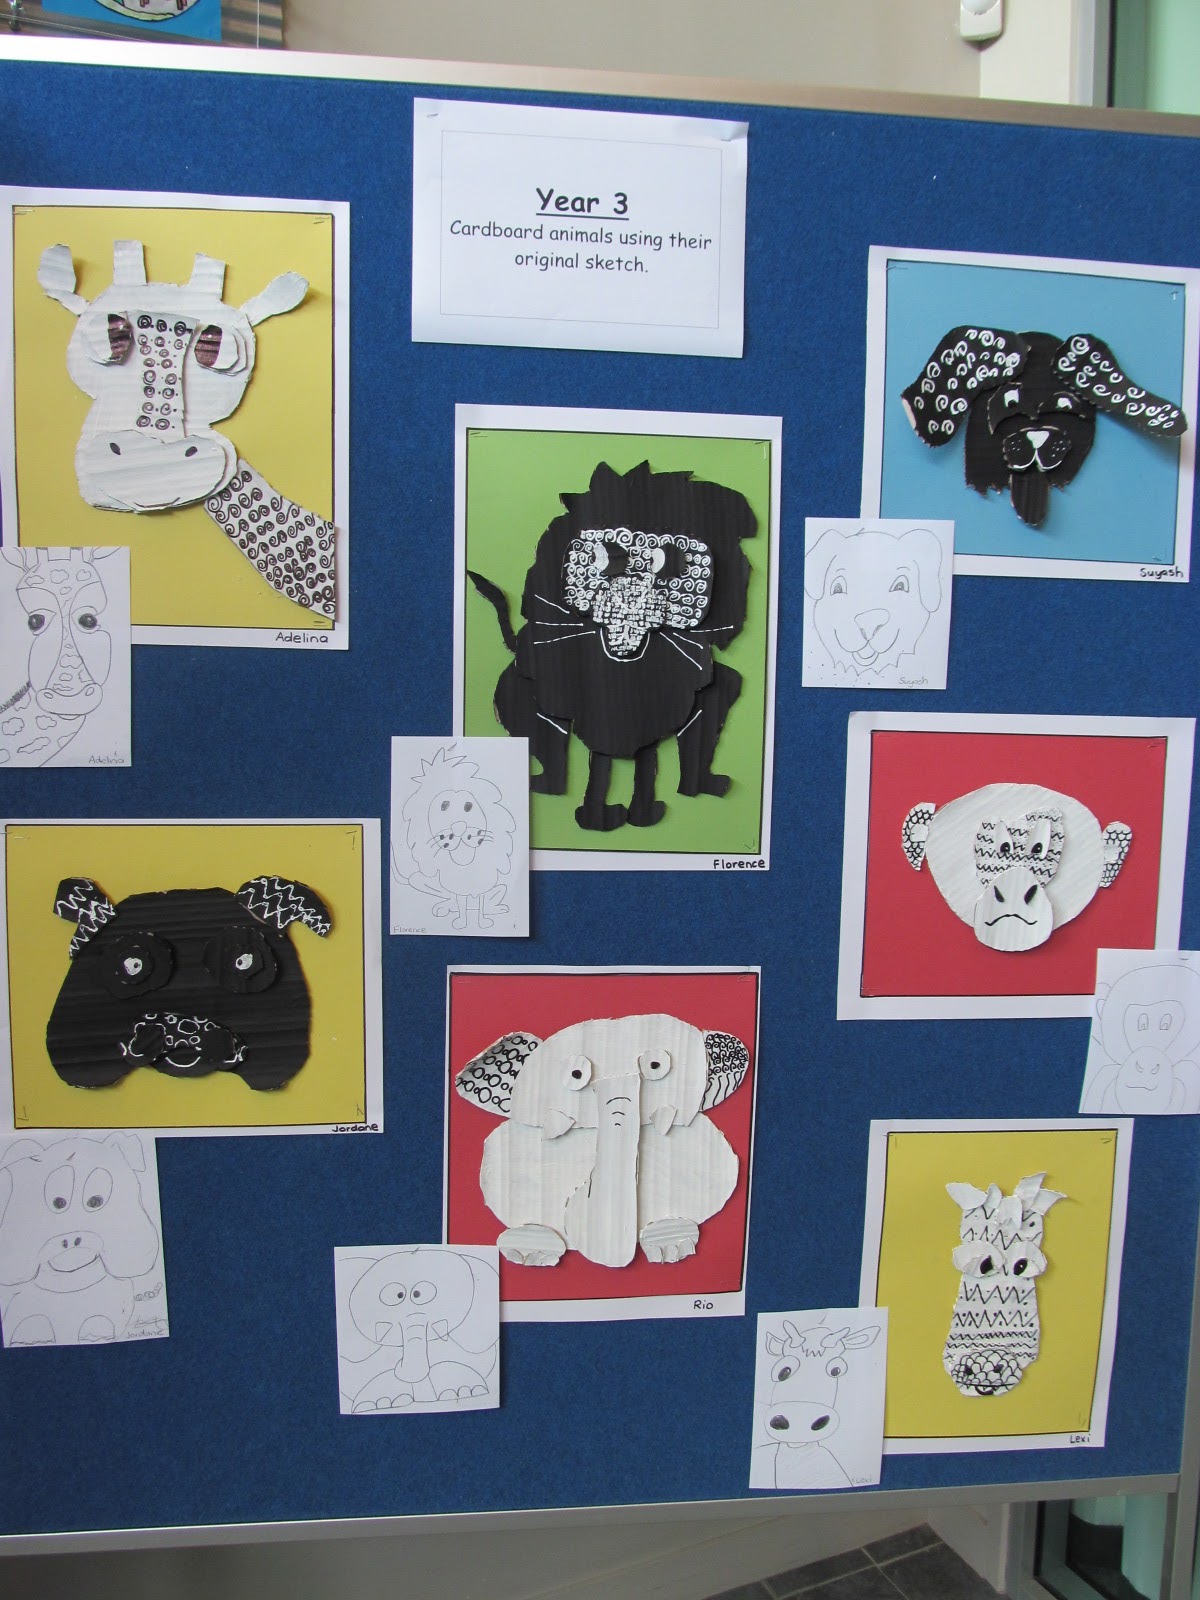
 Year 3 students sketched different animals and transferred each part of the animals onto corrugated cardboard.  They cut out each piece and painted them either black or white.  Patterning was used on 2 or 3 parts of the animal. 
The patterns were either detailed in black vivid or white correction pens.
The whole animal was repositioned onto card and glued into place.
Next to each finished piece is their original sketch.


Thursday, 18 August 2016

Faces


Year 3 students used different types of cardboard to produce their faces.  They added the eye colour with watercolour paints and acrylic paint for the lips. Each was glued onto the inside of a box for display.

Thursday, 5 May 2016

Spring flowers


Year 3 students looked at and sketched flower shapes.  They had to sketch flowers closed, facing different directions and various sizes.  The pencil outlines were covered with black vivid and the background was dyed blue using a paint brush.  Cotton buds were used for the inside of the flowers, around the stems and leaves.  The cotton buds are dipped into the dye and used like a pencil- this gives the children greater control.

Friday, 20 March 2015

Tree watching


Year 3 students looked carefully at the trees in the school grounds.  They discovered that the trunk looked very thick and further up the tree the branches got thinner and were sometimes hard to see because of the leaves.  The students transferred this onto paper using pencil and just drew the trunks.  They learnt about shades and tints and used a blotting motion with the paint brush when adding the leaves.  They finally took photos of each other, deciding how they wanted to be looking up at the tree.  These photos were printed out and glued onto the completed art work.


Wednesday, 2 April 2014

Flower tints


Year 3 children worked on repeating patterns using black vivid in a flower shape.  They also learnt how to tint a colour, the loading of paint onto the brush and application of it.
These pieces of art can be displayed individually or as a group.

Tuesday, 11 March 2014

Cats on Calico


 These lovely cats were painted by Year 3 students.  We sketched many cat shapes and angles.  The children selected their favourite cat and enlarged it onto their piece of calico.
They outlined the pencil in black permanent pen.  I demonstrated how to apply paint to their brushes and also how to apply it to fabric.  I used acrylic paint and not the fabric paint, as this was not an item that would be washed and it didn't need setting.
The children needed to go over their painting several times to fill in the white spaces that appeared.
Finally they used a small amount to black on their brushes to shade areas.


Friday, 21 June 2013

Owls


Year 3 students used watercolour pastels for their Owls.  Black ink was first applied and then the pastel. We cut them out and added other details to the background.  I framed them onto black paper and then selected 2 other colours.

Friday, 12 April 2013

Warm sun and cool moon


 Year 3 children simply made their sun and moon using bright coloured dyes and black vivid.  They used different patterns to represent each one.  Dye was applied to the pencil work first using a cotton bud.  Once dry the pencil was outline in waterproof black pen.


Friday, 22 March 2013

Butterflies


Butterflies
Year 3 students sketched and designed the patterns they wanted inside their butterfly.
We began with a cardboard cylinder for the body and thin wire for the wings.  The wire needed to be pushed through the cardboard  and taped onto the inside.
The children papier mache the body and wings with layers of newspaper and newsprint. The last layer was newsprint.  The papier mache had to be wrapped around the edges of the wings and connected the body to the wings.
Once these were dry the children began to paint them.  They took a couple of coats for the first colour.   Finally they used PVA black glue to add detail and to make their design stand out.  They were varnished and made a great display on the wall.

Friday, 1 March 2013

Warm and Cool insects

Warm and Cool Insects:
These lovely insects were made by the Year 3 students.  They sketched a selection of insects and decided on the one they liked.  
We began by drawing the large insect onto the paper. Once completed they had to add a large circle behind it.  Petals were added and needed to be extended off the page.
They then had to decide whether the flower or the insect was to be warm or cool colours.  Once they had made that decision they began adding pastel to the outlines and dots to the middle of the flower.
                                                      Very watery dye was added to the flower and colours were
allowed to run into one another.
 Finally we completed the insect merging the colours together.  The insect was outlined in black.


Tuesday, 19 February 2013

Turtles:
After looking carefully at different lines and patterns, students sketched several turtles from different angles.  Once they had completed the turtle, they sectioned the shell and added different patterns into each area.  They first used pencil and completed the design in black pen.  Finally a lesson on water colours  then  small brushes were used to add the colour.
These were cut out and mounted on sugar paper.


Friday, 1 February 2013

Colourful Bugs


Year 3 children viewed bugs, firstly through magnifying glasses and then in books.  We enlarged these onto A3 paper and  selected warm and cool colours, using dye.  The bug was outlined when dry and cut out.
The children that only had small areas to fill with dye used cotton buds, as this gave them more control.


Ladybugs on flowers


Year 3 students looked closely at flower shapes. They used a view finder to help them sketch a part of the flower.  Once enlarged onto paper we used pastels to colour and then finally white PVA glue to outline the shape.

The ladybugs were made using white modelling clay which was dried and then painted.  Children decided where their bug would sit.
Display of flowers


Ladybugs made from modelling clay